Report Designer
A professional PDF print-template builder for any screen in the system - built on HTML + Jinja2 templates, with a live code editor, a ready-made field explorer, and a live preview that generates a real PDF before you publish.
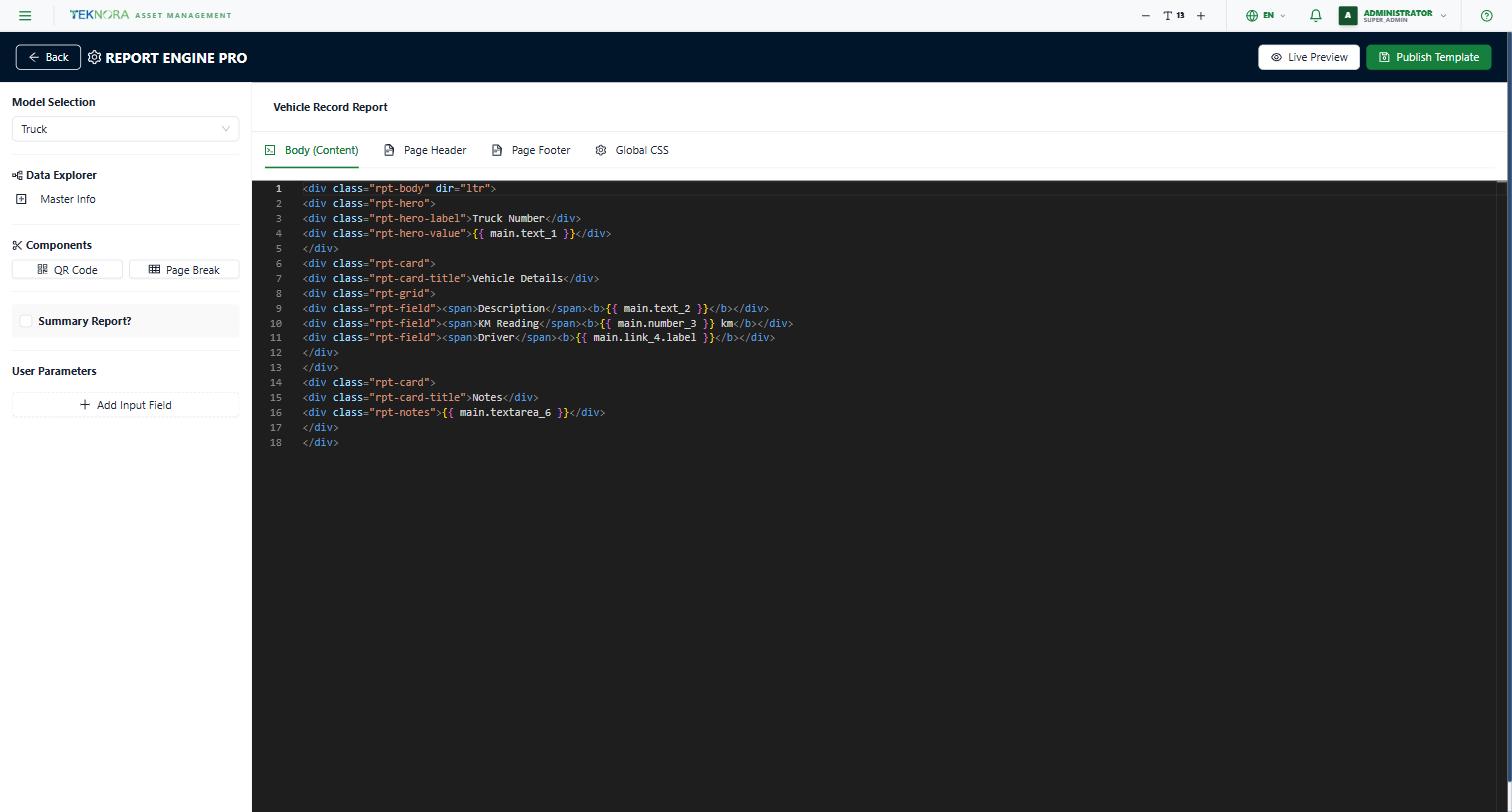
Model Selection
A dropdown listing every available data source - the system's core screens (Work Orders, Assets, Inventory, Vendors, Job Plans...), plus any custom app that has "Has Reports" enabled in the Custom App Studio - shown in a separate "Custom Applications" group.
Data Explorer
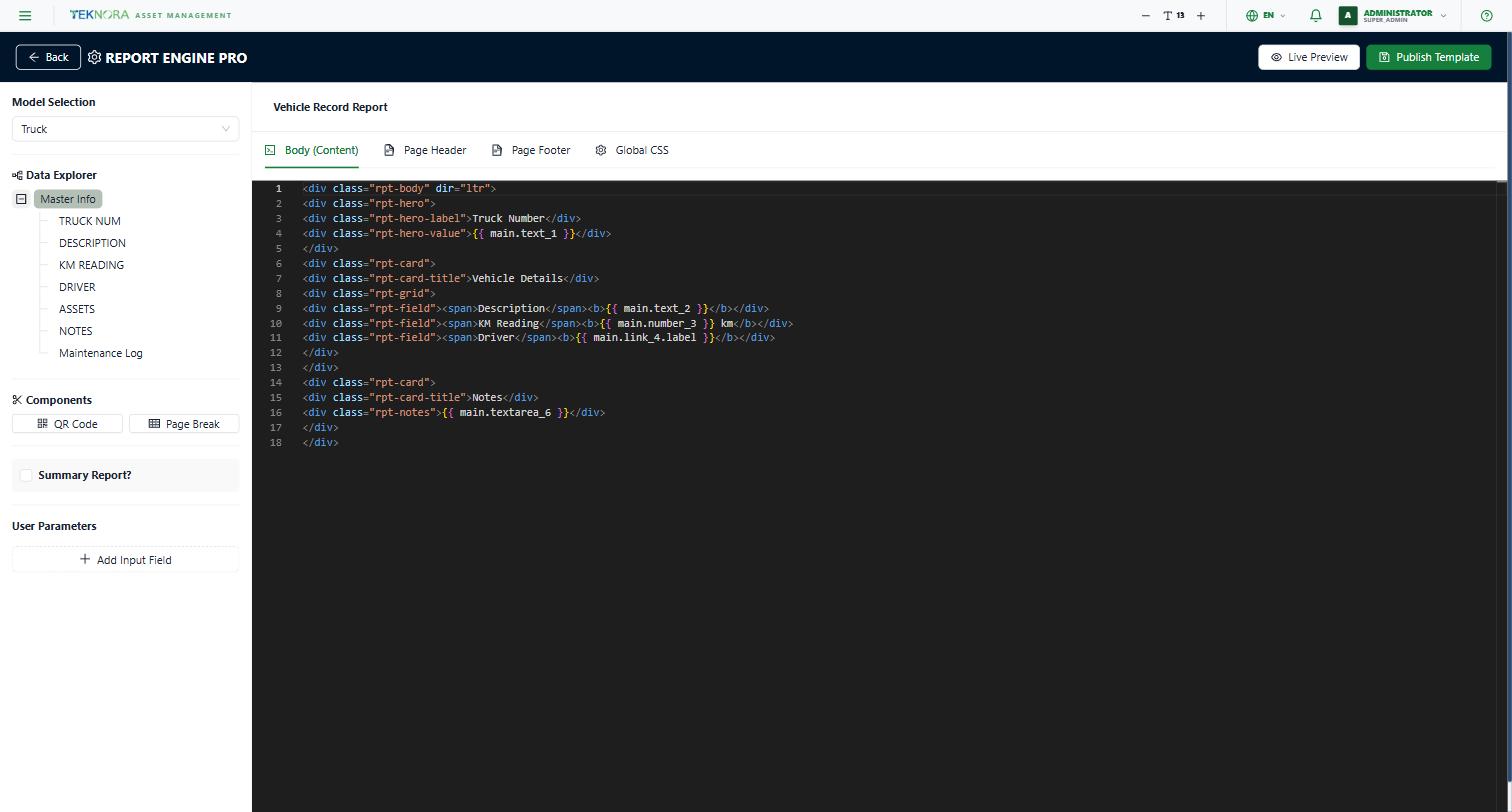
A tree of every field available for the selected model. Click any field (a leaf, not a folder) to insert its Jinja2 code (like {{ main.text_1 }}) directly at the cursor's position in the editor - no need to type it by hand.
For a custom app, the tree is generated automatically from its real fields (the same field names you saw in the Studio).
Components
Quick buttons to insert ready-made elements at the cursor:
- QR Code: a barcode pointing at the current record.
- Page Break: a forced page break when printing.
Is Summary Report?
If enabled, the report is treated as a list report (multiple records) instead of a single-record report - useful for reports like "Inventory Reorder Report" that print more than one row in the same report.
User Parameters
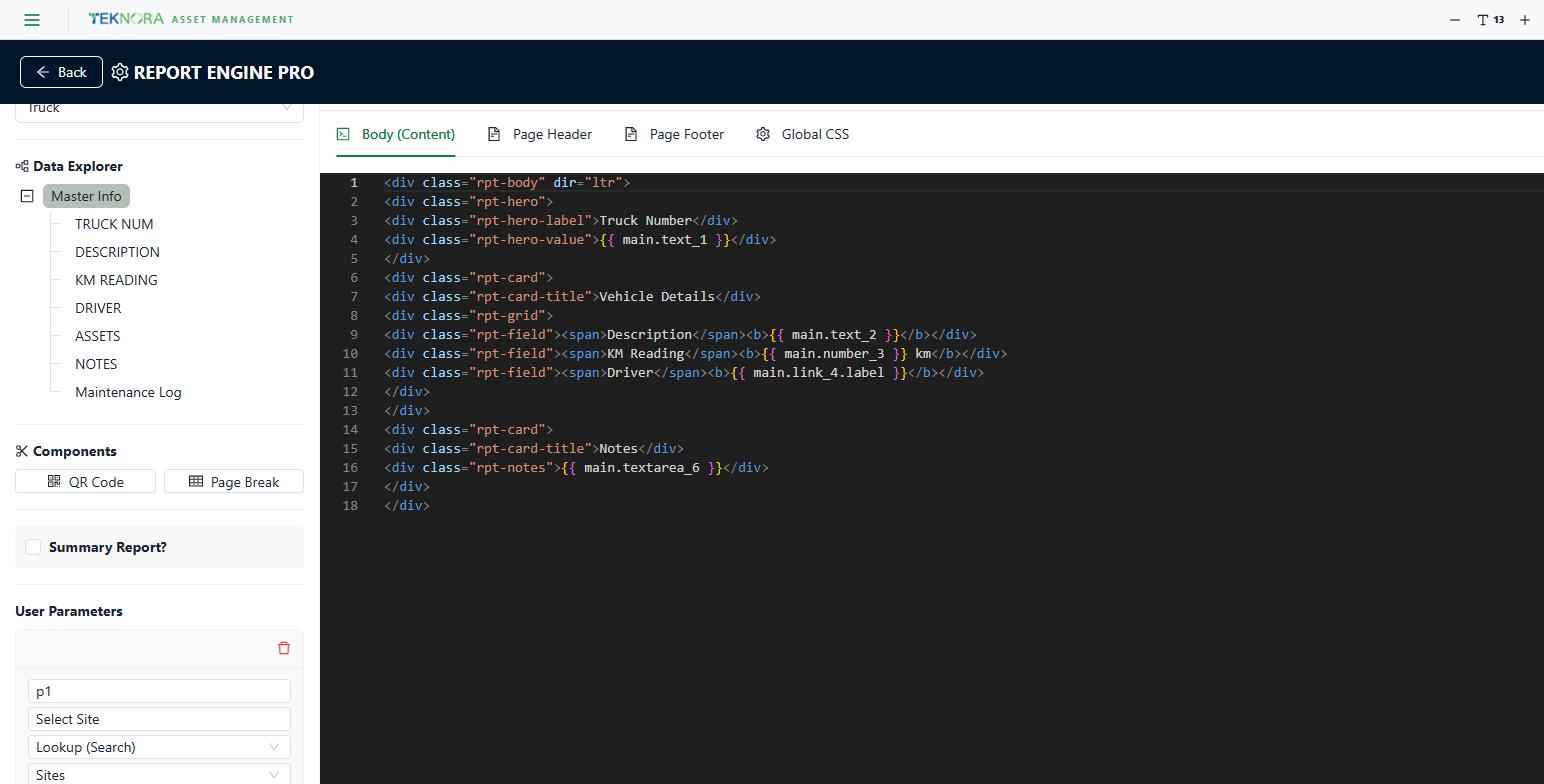
Filters shown to the user when printing the report (like "select a site", "from date - to date"). For each parameter you set:
- The name and the label shown to the user.
- The type: free text, a lookup (search) in a real table, a value from a domain, or a date.
The Template Editor
Four tabs, each an independent Monaco editor:
| Tab | Purpose |
|---|---|
| Body (Content) | The report's main body - most fields and tables go here |
| Page Header | A fixed header repeated on top of every page |
| Page Footer | A fixed footer repeated at the bottom of every page (like a page number) |
| Global CSS | Styling for the entire report - colors, fonts, table design |
Preview and Publish
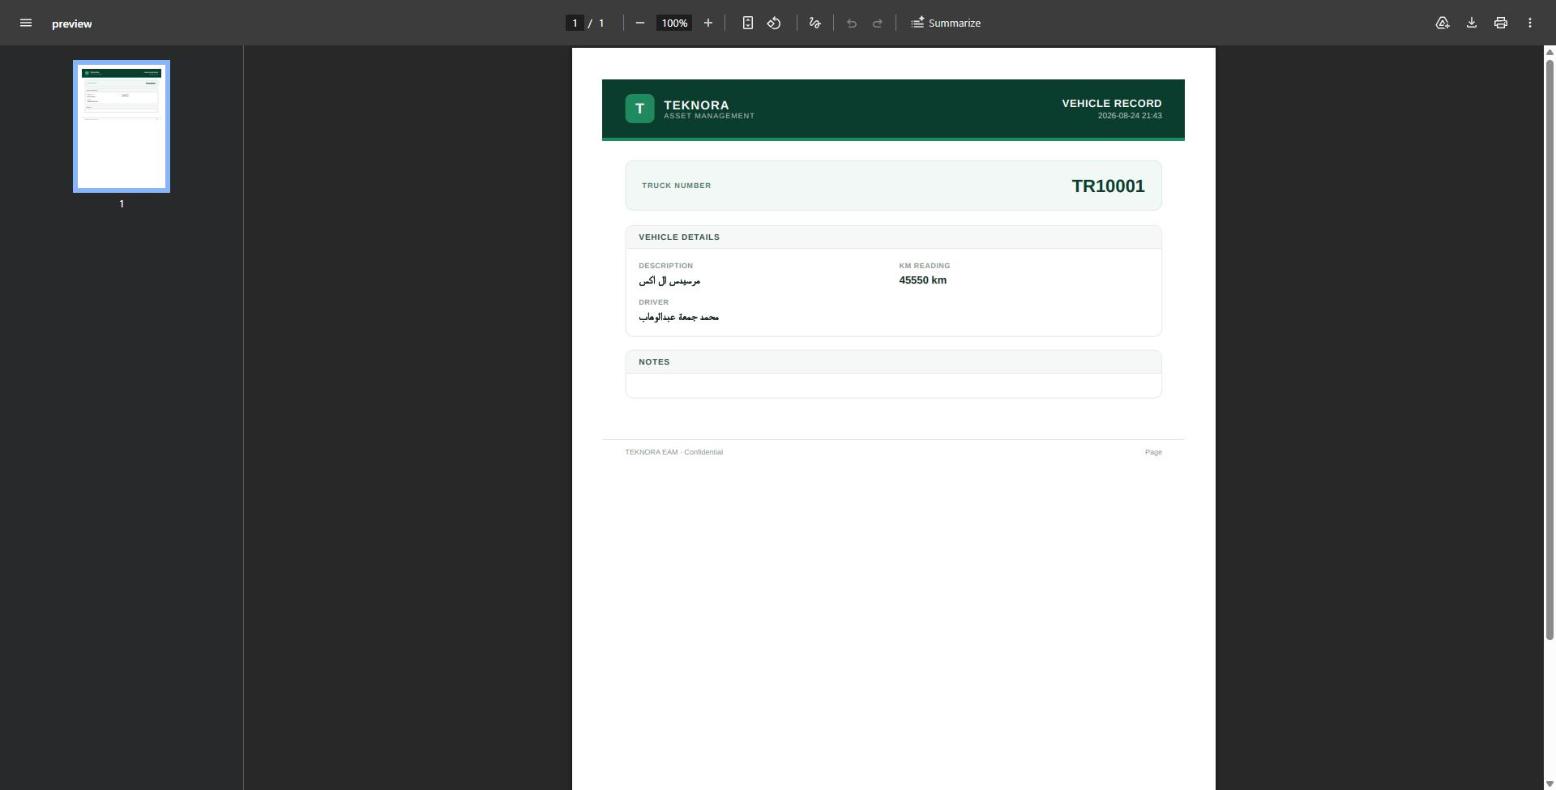
- Live Preview: opens a new tab with a real PDF generated from real data - review the final look before publishing.
- Publish Template: saves the template - without publishing, the report won't appear as a print option on any screen.
Practical Steps
1. Pick a data source
From "Model Selection", pick the screen or custom app whose data this report will print.
2. Build the template
Open "Data Explorer" and click the fields you want at the cursor's position, in the right tab (Body/Header/Footer).
3. Style it
Use the "Global CSS" tab to style tables and colors - any CSS class you use in the HTML (like rpt-table, rpt-card) needs to be defined here.
4. Preview
Click "Live Preview" often while working to confirm the look matches what you expect before publishing.
5. Publish
Click "Publish Template" when done.
The report won't show up for users
If the report is tied to a custom app, the "Has Reports" option must be enabled in the Custom App Studio - otherwise the "Print Reports" button won't appear on the details screen at all, even if the template is published.